 |
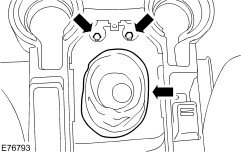
Remove the 2 gearshift mounting bracket bolts. |
 |
Release the gearshift lever gaiter. |
| : | Jan 19, 2007 |
| . | Position the vehicle on a lift. |
| . | Disconnect the battery ground cable. |
| . | Remove the ride and handling optimization
switch. |
| . | Release the gearshift mounting bracket.
 |
| . |
Raise and support the vehicle. |
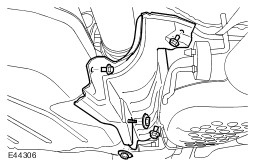
| . | Remove the fuel tank heat shield.
 |
| . |
Release the driveshaft from the transfer case drive flange.
|
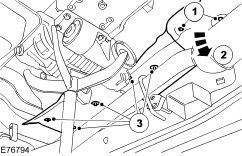
| . | Remove the 2 driveshaft center bearing mount
bolts.  |
| . |
Using a suitable tie strap, reposition and secure the driveshaft to the exhaust system. |
| . | Remove the engine undershield. |
| . | Remove the front driveshaft. |
| . | Remove the exhaust heat shield.
 |
| . | Remove the 2 turbocharger support bracket bolts.
.jpg) |
| . | Loosen the turbocharger support bracket nut and
reposition the turbocharger support bracket. 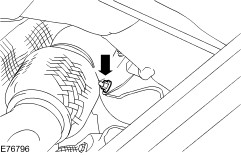 |
| . | Release and reposition the fuel cooler. 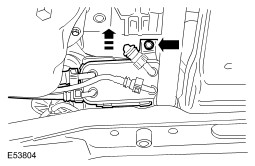 |
| . | Release the fuel filter housing and support
bracket.
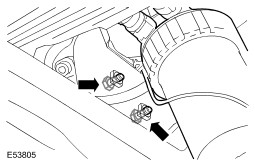 |
| . | Secure the vacuum hose to the forward edge of
the chassis cross member.
 |
| . |
Disconnect the clutch fluid hose.
|
| . | Release the gearshift rod.
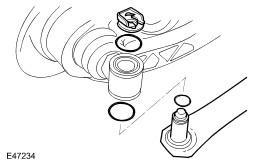 |
| . | Release the wiring harness from the transfer
case.
 |
| . | Position the special tool to the transmission.
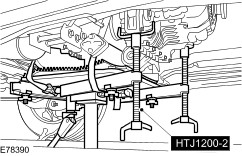 |
| . | Lower the rear of the transmission for access. |
| . | Release the wiring harness from the
transmission.
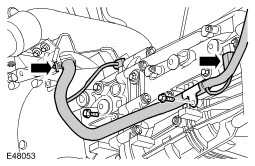 |
| . |
Disconnect the gearbox breather line. 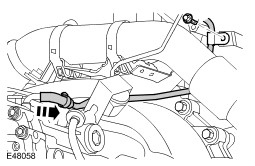 |
| . |
Disconnect the transfer case breather line. 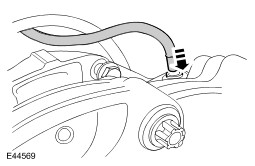 |
| . | Remove the exhaust cross-over pipe LH support
bracket.
.jpg) |
| . | Remove the exhaust cross-over pipe RH support
bracket.
.jpg) |
| . | Reposition the wiring harness to allow access to exhaust cross-over pipe center support bracket. |
| . | Remove the exhaust cross-over pipe center
support bracket.
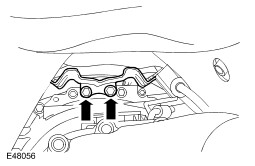 |
| . | Remove the 14 transmission bolts. 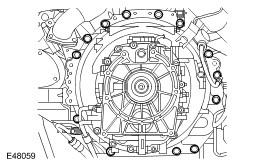 |
| . |
Release the transmission from the engine and move the transmission 40mm (1.57 inches) rearwards. |
| . | Using the transmission jack, rotate the
transmission to gain access to the gearshift mechanism. 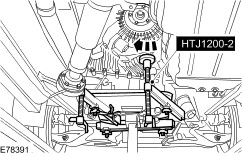 |
| . |
:
Release the gearshift mechanism from the transmission.
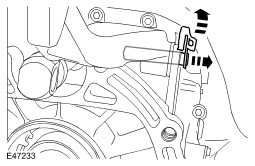 |
| . |
With assistance, remove the transmission.  |
| . | Remove the transmission from the transmission jack. |